Not ready for a workshop or metal art course?
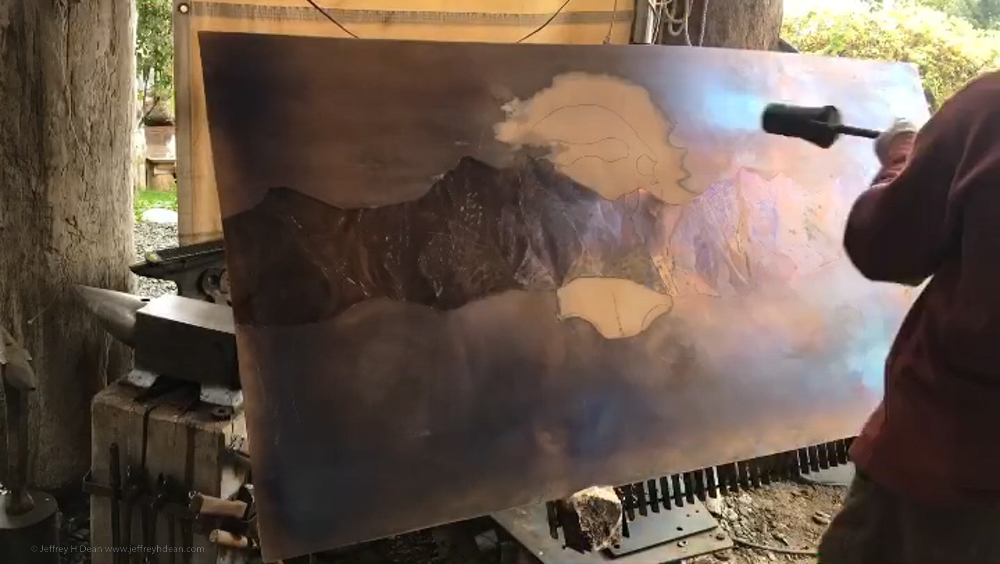
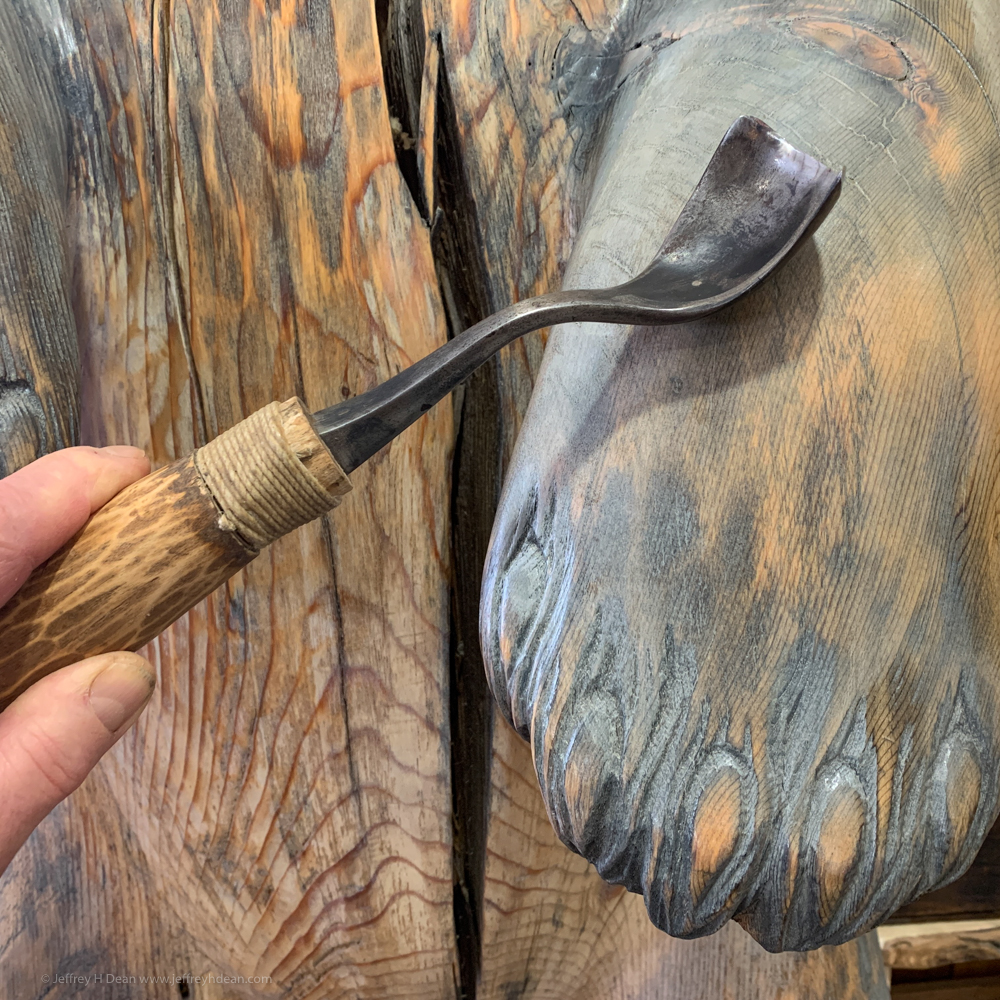
If you’d like inspiration and information about heat coloring, decorative grinding, and my metal art process, Subscribe to my metal art newsletter.

"There is no other course like this!"
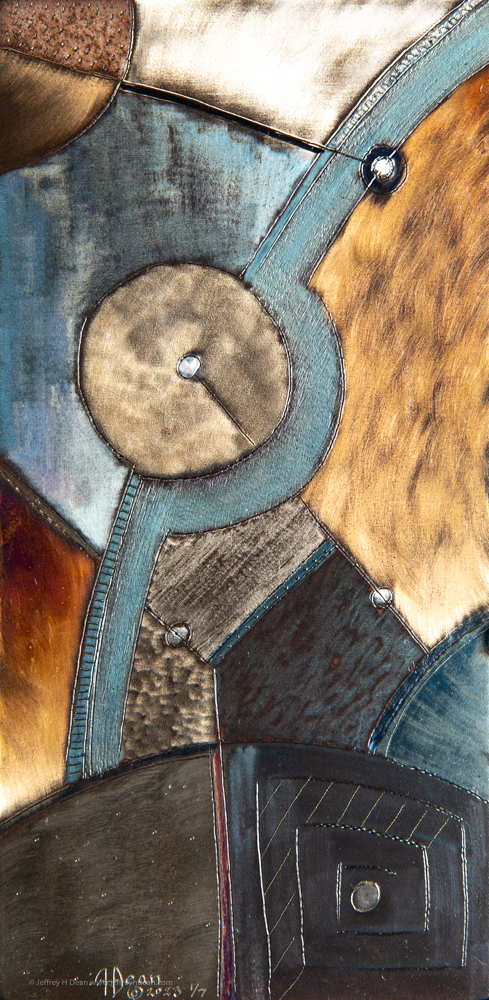
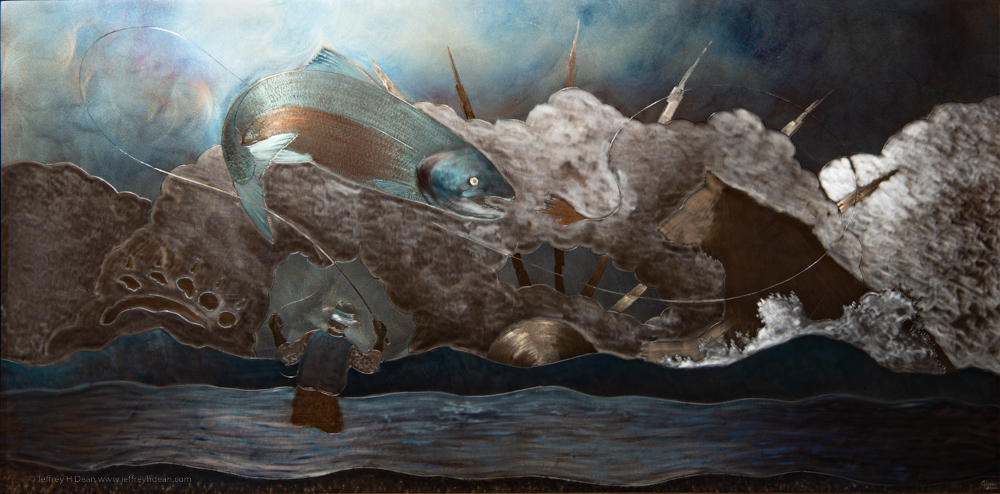
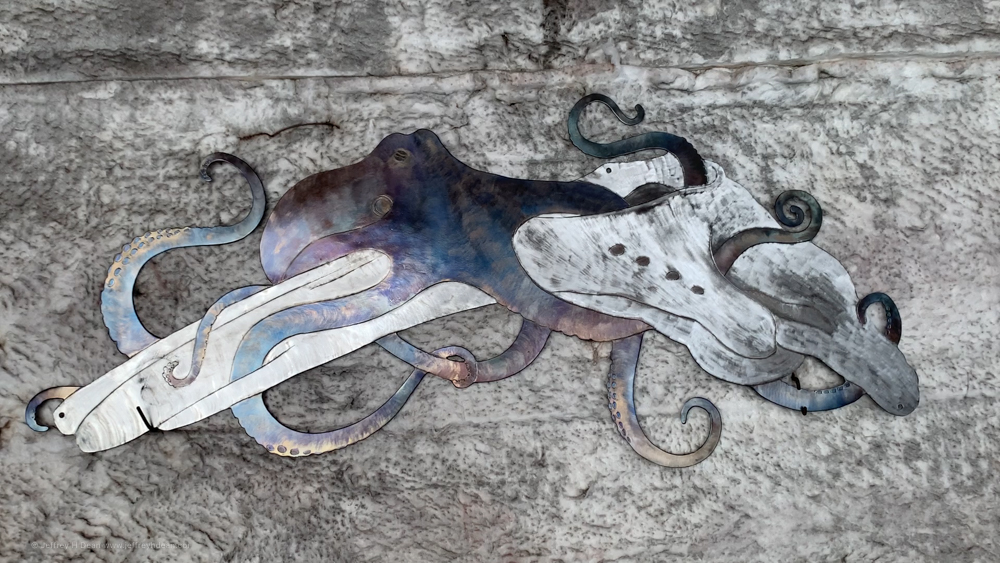
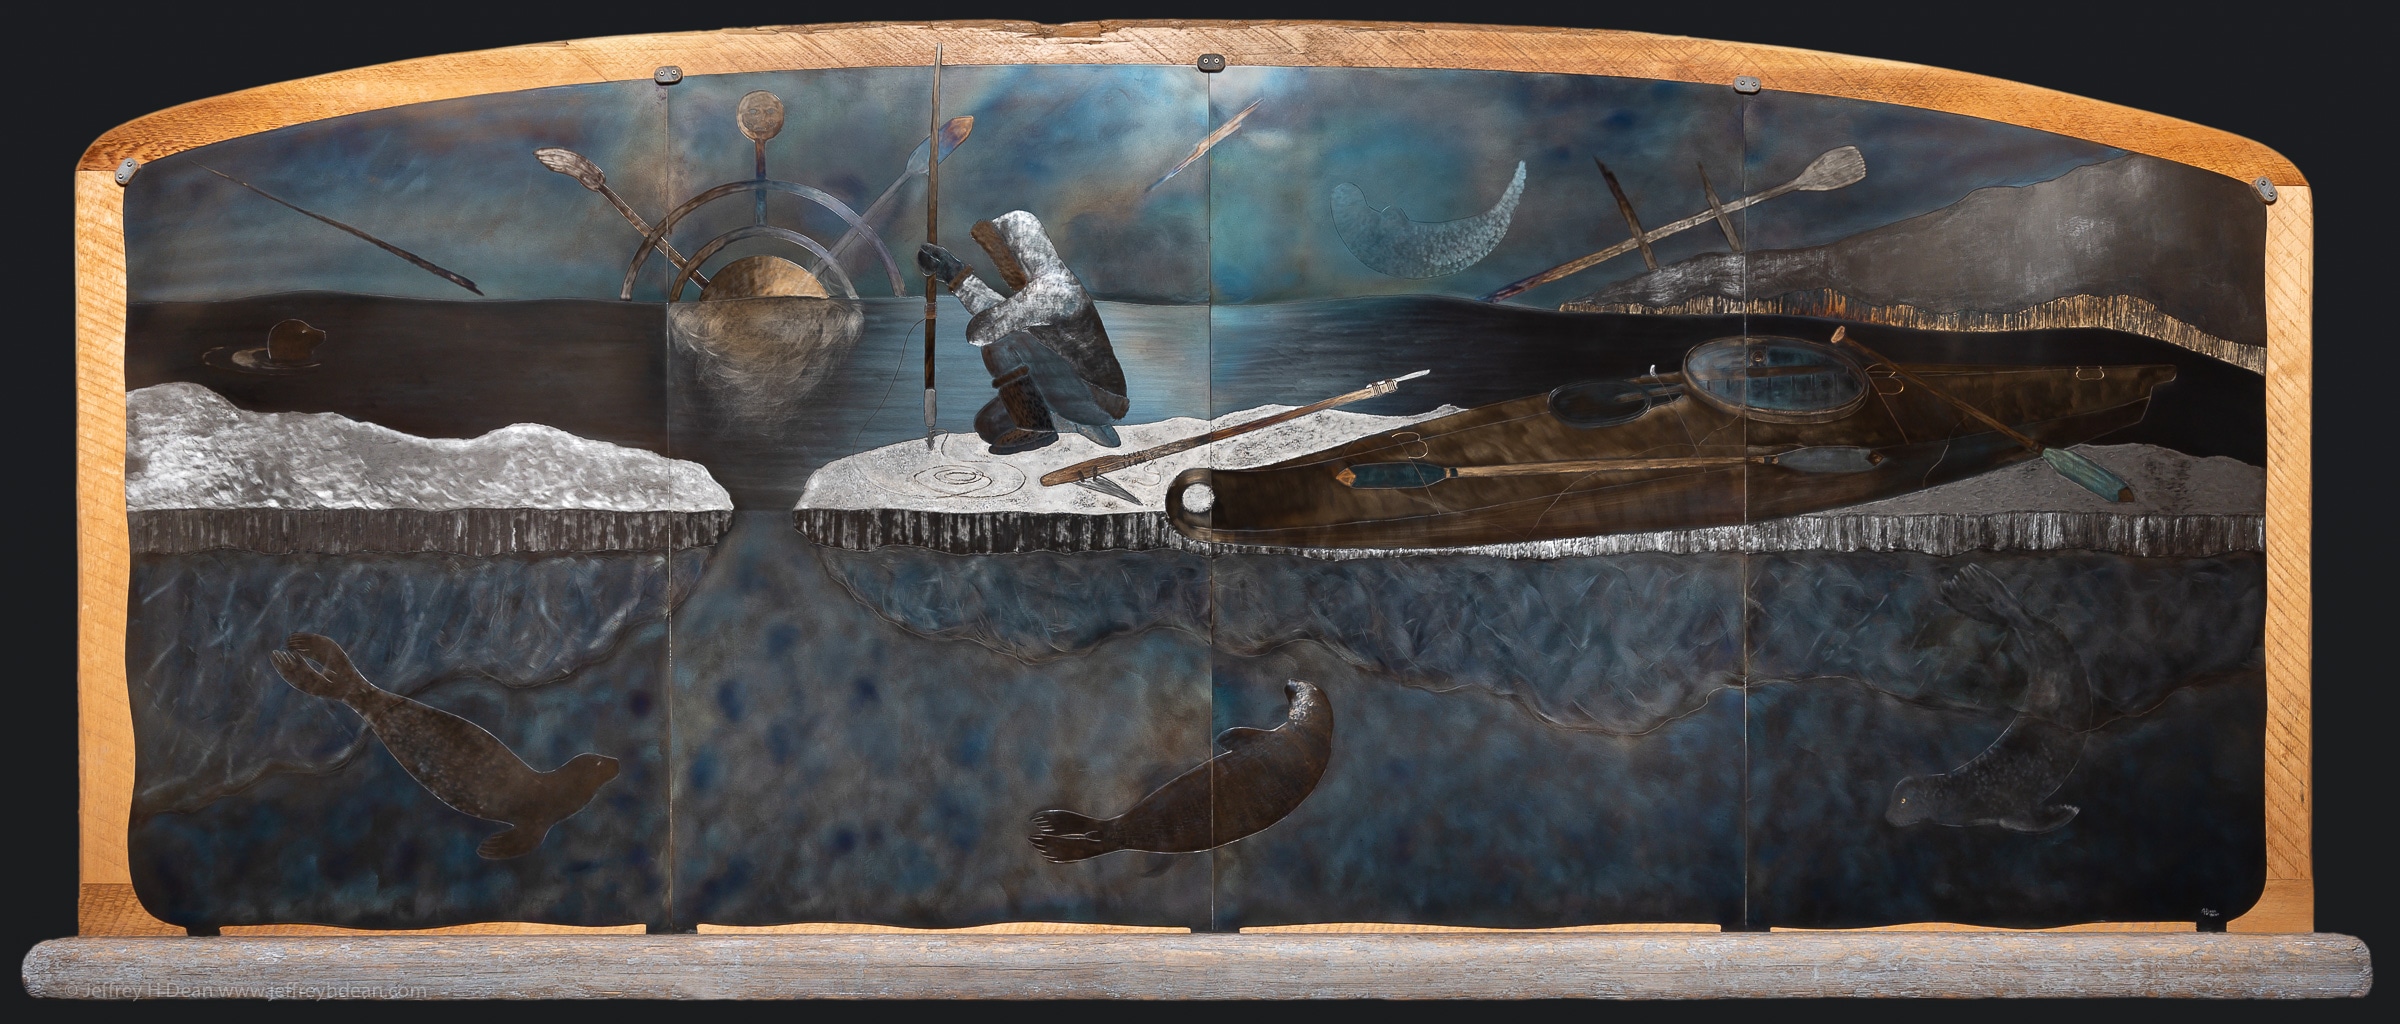
The Art of Heat Colored Steel Engraving class is phenomenal! I learned new skills to add color, texture, and depth to my art - it really was a game changer! The course is comprehensive, well laid out, videos are well done, and you have lots of support along the way. This course will provide you with the knowledge to build your skills to take your work to the next level. There is no other course like this!

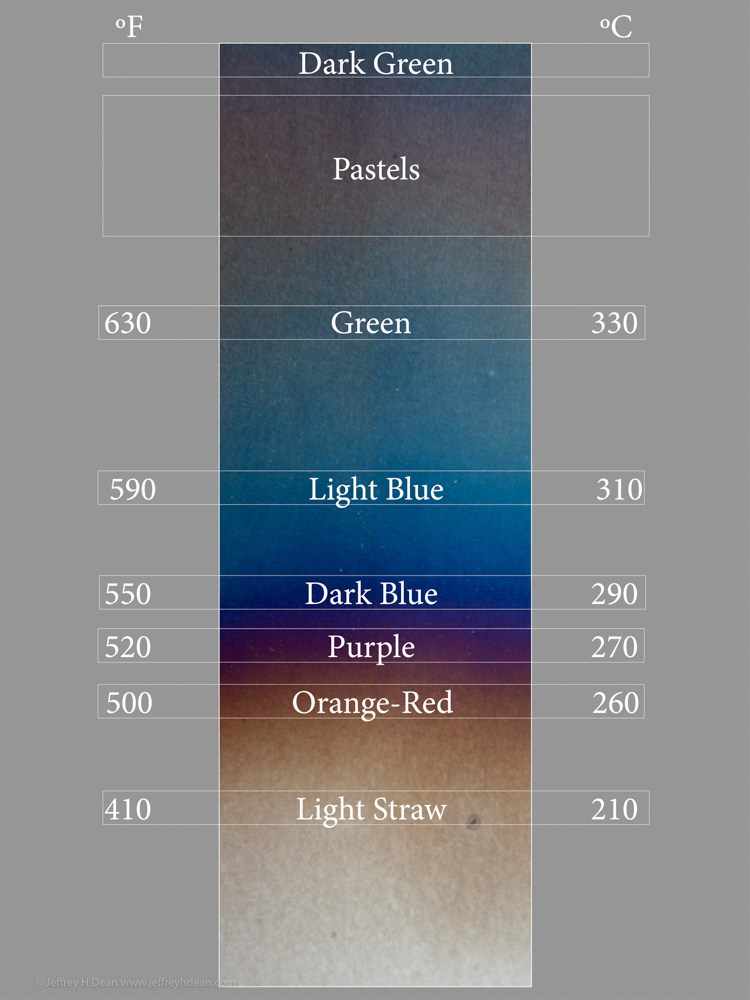

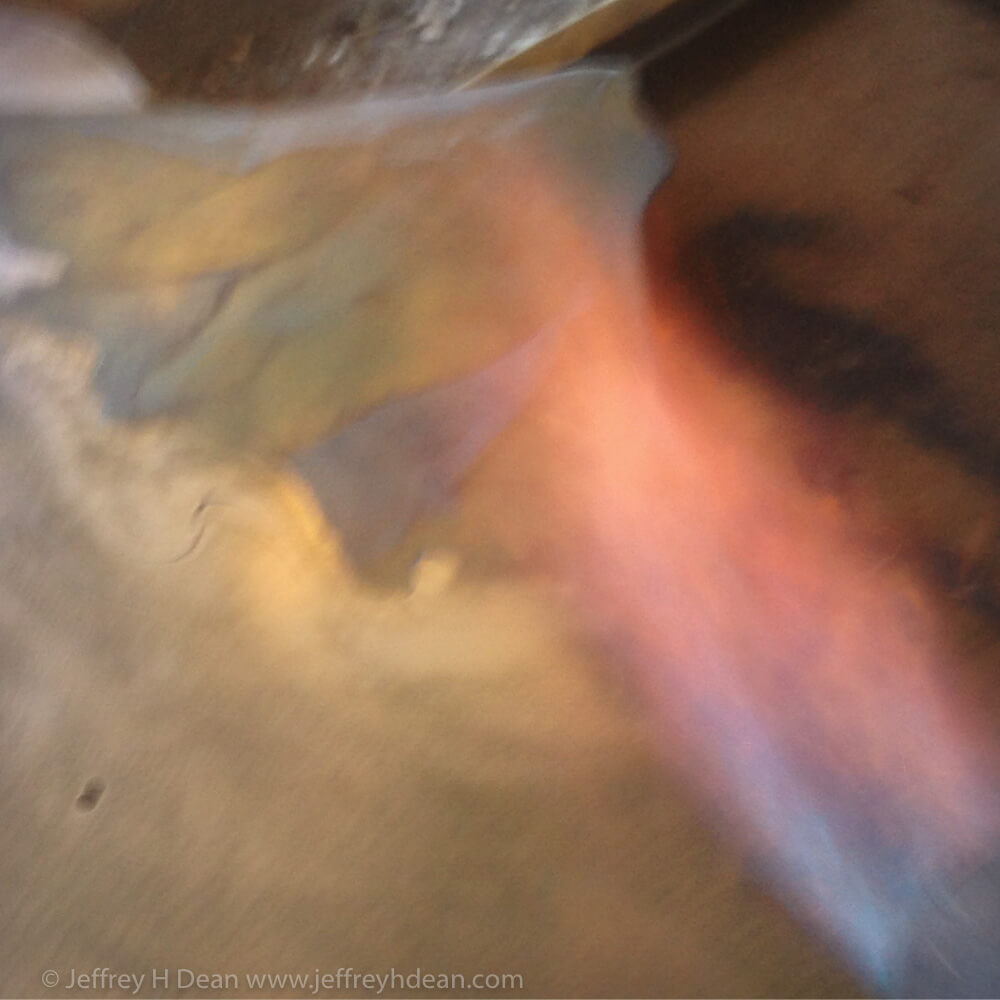

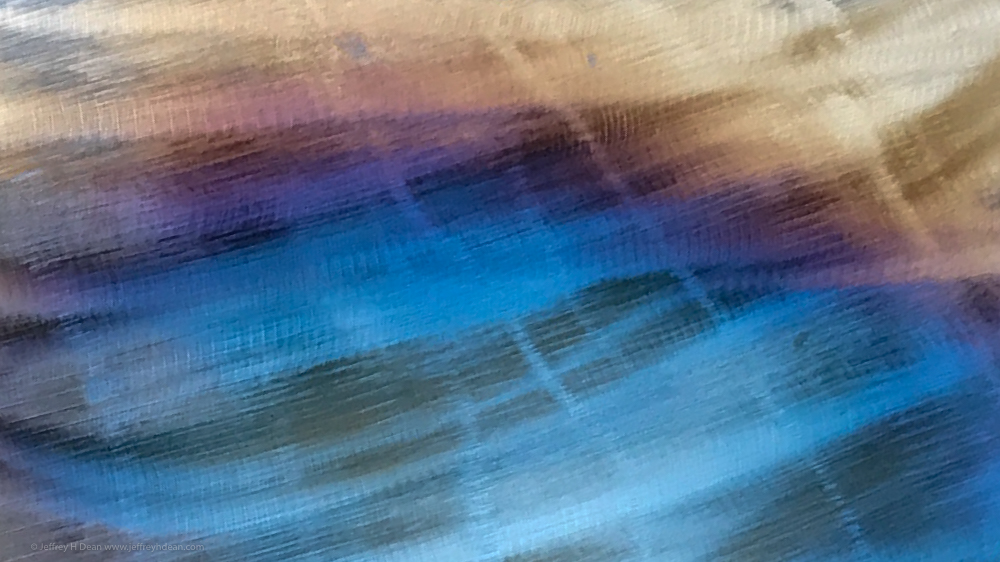
"My biggest single problem is consistency and control of color."
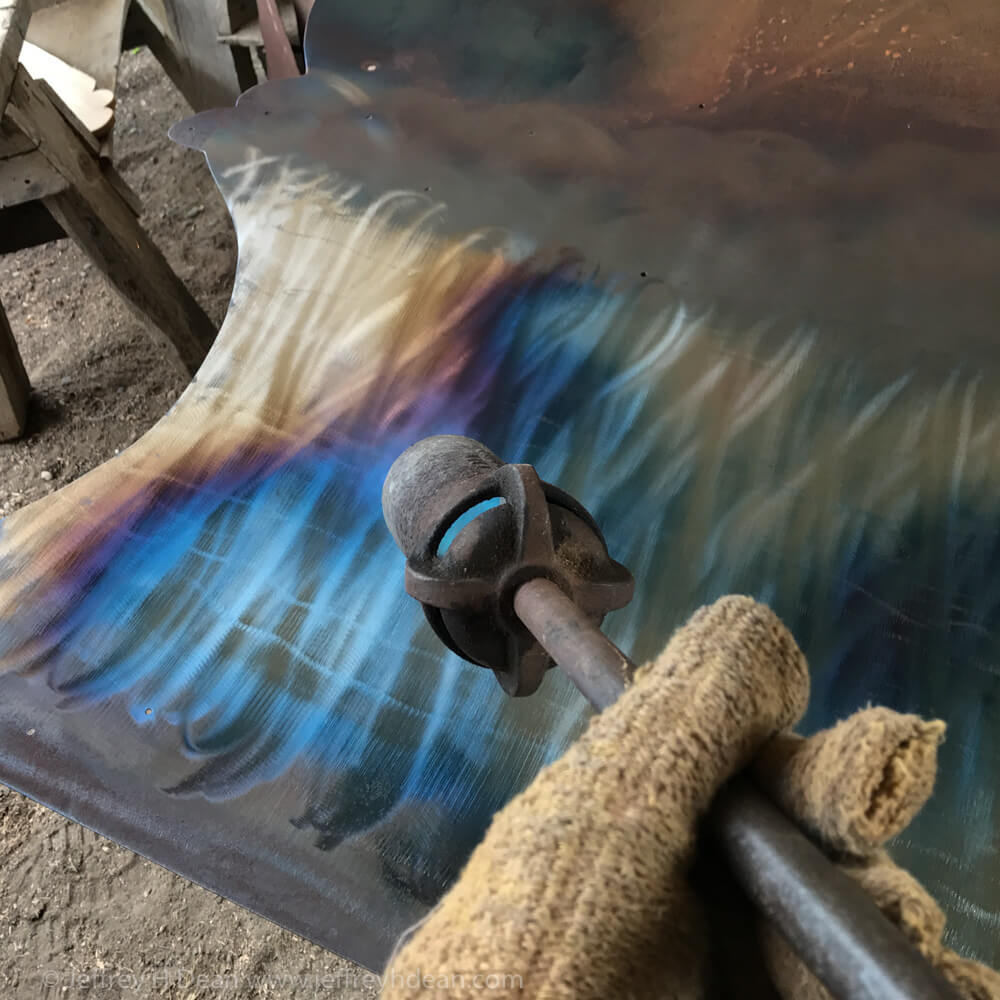
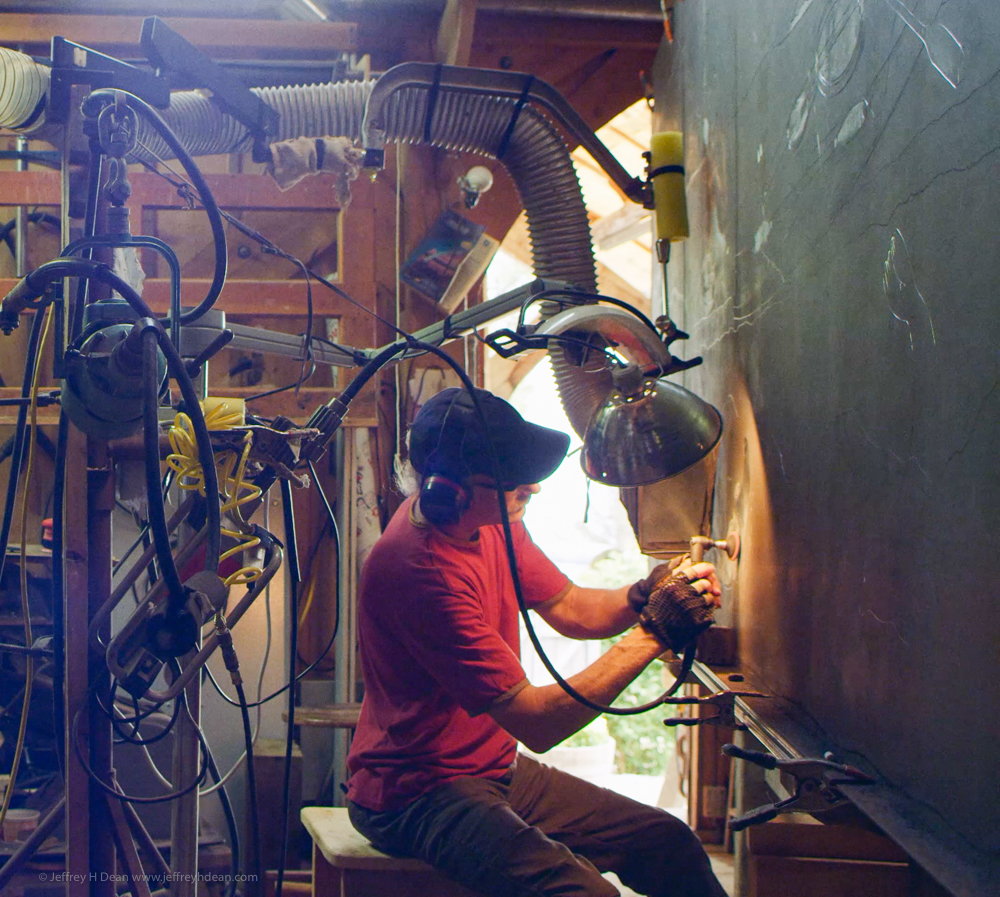
I have several years experience with CNC cut artwork and heat coloring as primary decorative accent. – Biggest single problem is consistency and control of color.

Enter your details below to save your cart for later. And be sure to get in touch with questions.