Off to Florida and other Adventures
Jeffrey H. Dean SculptureOff to Florida and other adventures Our Dean Homestead and Art Studios tours bring folks from all over the country to our
I make a lot of my metal and wood wall art designs in small limited editions. You can commission them in custom sizes to fit a specific setting. I make them in both single and multi-layered versions; some have wooden elements.
The layers are held together with hidden bolts and screws. I cut out the steel shapes with a plasma cutter and the wood with a bandsaw or jigsaw.
Then, once I’ve enlarged and engraved the drawings, I attach T-nut fasteners to the backs, arrange the various elements, and mark them for drilling. After drilling the holes, I pre-assemble everything to ensure proper alignment.
Only then do I begin the decorative grinding and heat coloring process that gives my metal and wood wall art its unique character.
These photos show what the pieces look like in this intermediate ‘nuts and bolts’ stage. They give you a bare-bones look at what the piece will look like without any of the decorative grinding textures and heat colors.
You’ll find images of the finished pieces that are currently for sale at https://www.jeffreyhdean.com/scul…/metal-wall-art-gallery/.
‘Oh My Hero’ is a metal and wood wall art piece depicting a golden doodle helping a frantic ground squirrel escape from a very hungry grizzly bear.
’Unexpected Company’ shows a happily breaching humpback whale as he interrupts a seagull’s evening meal.
In ‘At the Breathing Hole,’ a polar bear and arctic fox watch stealthily as a seal approaches its breathing hole. I use various wood species in my metal and wood wall art. In this case, large slabs of cottonwood from trees that had blown down on our land.
I made ‘Through Your Spotting Scope’ for the Kesugi Ken Interpretive Center in Denali State Park.
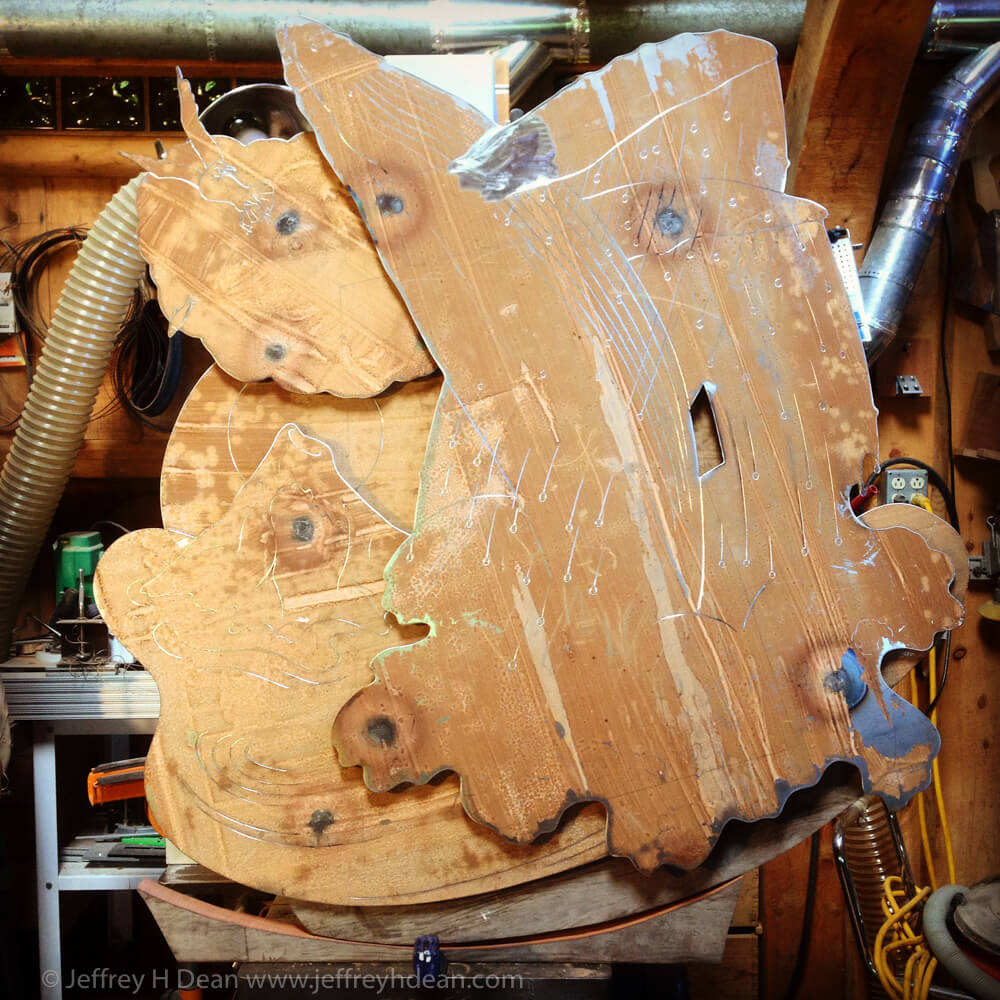
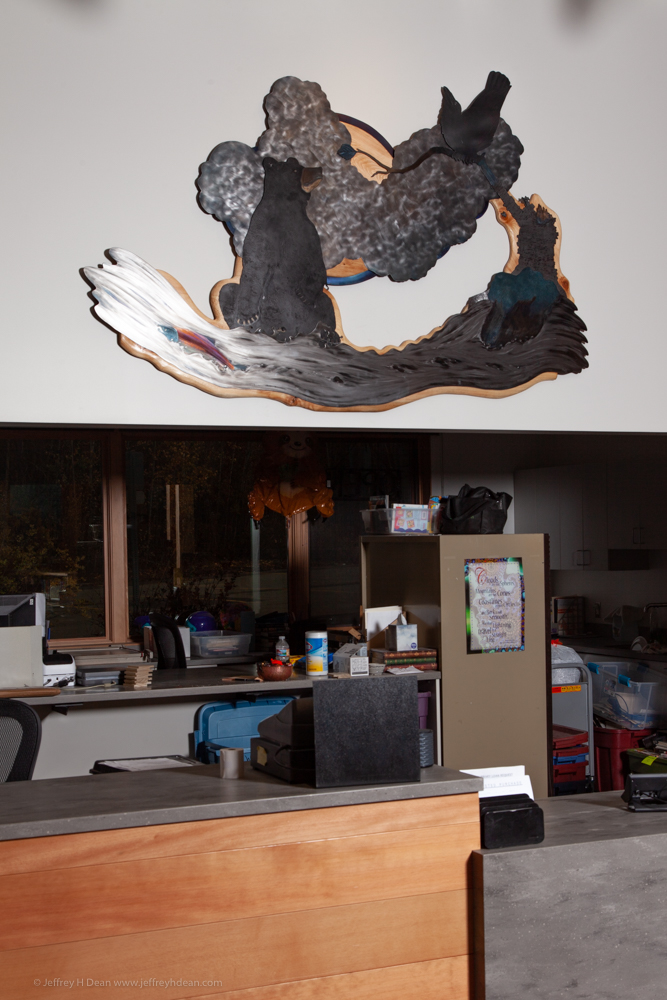
This is my second version of ‘The One That Got Away.’ The wood is spruce and the metal is a mixture of hot and cold-rolled steel. A weary salmon sneaks past a fishing black bear with the help of a raven.
I installed the third version of my layered metal and wood wall art ‘The One That Got Away’ in the new library in Willow, a few hundred miles north of Homer. The Matanuska Susitna Borough commissioned it through their percent for the arts program. At just under nine feet wide, it’s the largest of the three.
I fully assemble most of my layered pieces and have them ready to hang. Not so in this case.
Being 8’10” wide, I had to plan accordingly for a single-person installation. The wood backing provided a foundation for all the metal sections.
After aligning them in the shop and with everything drilled for bolts and screws, I made temporary plywood supports under each steel element to provide a ledge to rest it on during installation.
With the Z-clip hangers located on the wall, I hung the wood frame and proceeded to place and secure each section of metal, one by one.
Though the pair of Z-clips with a 5/8″ lift-off is very secure, I added a hidden security screw into a stud to resist movement in an earthquake.
I placed the river last, aligning it on two headless temporary bolts. I then secured it using specially shaped and heat-colored furniture bolts.
All in all, it went very smoothly, with each section of the artwork being manageable by a 65-year-old youngster such as myself.
If you’re looking for a piece of unique metal wall art, you can see more examples of my available metal wall art in my online gallery. This article talks about how I got started making metal art.
Jeffrey H. Dean SculptureOff to Florida and other adventures Our Dean Homestead and Art Studios tours bring folks from all over the country to our
The original drawing is a significant part of any new piece. Since the late ’70s, I’ve created commissioned artwork for individuals, businesses, and public places,
Decorating with Large Metal Wall art in The Living Room I recently returned from a road trip to install this large heat-colored steel metal wall
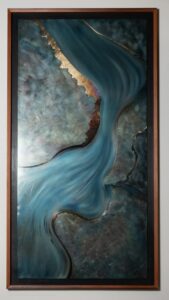
You may have heard me mention the series of geometric and organic abstract metal wall art pieces I made this fall. They’re inspired by celestial,

Enter your details below to save your cart for later. And be sure to get in touch with questions.